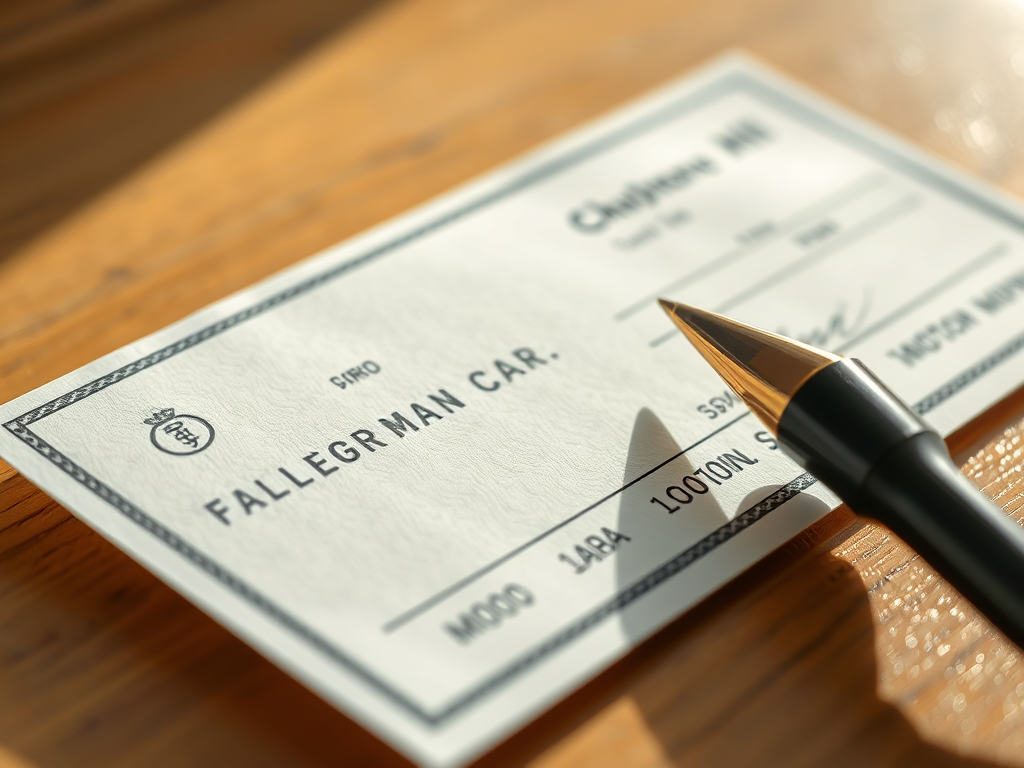
Although digital payments dominate in today’s world, knowing how to write a check is still an essential skill. Whether you’re paying rent, sending money to someone without electronic payment options, or handling formal transactions, writing a check can come in handy. If you’re new to writing checks or need a refresher, this simple guide will walk you through the process step-by-step.
What You’ll Need to Get Started
Before you begin writing a check, make sure you have:
- A checkbook: Ensure the checks are linked to your active bank account.
- A pen: Always use a pen (not a pencil) to fill out your check to prevent fraud.
- Accurate information: Double-check the payee’s name, amount, and any other details before starting.
Step 1: Write the Date
In the top right corner of the check, you’ll find a line for the date. Write today’s date in the format MM/DD/YYYY (e.g., 01/25/2025).
Why It Matters:
The date ensures that the check can be processed properly and serves as a record for both you and the recipient. If you’re postdating the check (writing a future date), the recipient may not be able to cash it until that date.
Step 2: Add the Payee’s Name
On the line labeled “Pay to the Order of,” write the full name of the person or organization receiving the check. Make sure to use their legal or official name.
Examples:
- For an individual: John Smith
- For a company: ABC Utility Services
Why It Matters:
The name ensures that only the designated payee can deposit or cash the check. Be as accurate as possible to avoid processing delays.
Step 3: Write the Payment Amount in Numbers
In the small box on the right side of the check, write the exact amount of money you’re paying in numerical form. Be sure to include both dollars and cents.
Examples:
- For $125.75: Write 125.75
- For $100: Write 100.00
Why It Matters:
This number is what the bank processes electronically. Double-check the amount to avoid errors.
Step 4: Write the Payment Amount in Words
On the line below the payee’s name, write the payment amount in words. Start at the far left of the line to prevent tampering, and draw a line after the amount to fill any empty space.
Examples:
- For $125.75: Write One hundred twenty-five dollars and 75/100
- For $100: Write One hundred dollars and 00/100
Why It Matters:
This written amount is used as a backup if there’s any discrepancy with the numerical amount. Banks prioritize the written amount over the numerical one if there’s a mismatch.
Step 5: Fill Out the Memo Line (Optional)
The memo line in the bottom left corner is optional, but it’s helpful for noting the purpose of the payment.
Examples:
- “Rent for January”
- “Electric Bill – Account #12345”
Why It Matters:
Adding a memo can help both you and the payee keep track of the payment’s purpose.
Step 6: Sign the Check
In the bottom right corner, sign your name exactly as it appears on your bank account. Use the same signature you provided when opening the account.
Why It Matters:
Your signature authorizes the check and confirms your agreement to pay the amount specified. Without it, the check won’t be valid.
Step 7: Record the Payment
Once you’ve written the check, record the details in your check register or a personal finance app. Include:
- The check number (found in the top right corner)
- The date
- The payee’s name
- The payment amount
Why It Matters:
Recording your payments helps you track your spending and avoid overdrawing your account.
Tips for Writing Checks Safely
- Always use a pen: This prevents anyone from altering the check.
- Fill out all fields: Don’t leave any spaces blank, as this could allow someone to alter the check.
- Write legibly: Clear handwriting ensures the check can be processed without issues.
- Store checks securely: Keep your checkbook in a safe place to avoid theft or fraud.
When to Use Checks
While many payments are now made electronically, checks are still useful for:
- Paying rent
- Making charitable donations
- Sending money to individuals or small businesses without digital payment options
- Large transactions that require a paper trail
Mastering the Art of Writing Checks
Writing a check is a simple yet valuable skill that ensures you can handle a wide range of financial transactions. By following these steps and practicing good habits, you’ll avoid errors and ensure your payments are processed smoothly. Whether you’re paying bills, sending money to a friend, or covering a one-time expense, a properly written check can do the job with ease.


